InvertersEnphase Microinverters: Smart Solar Technology
We are the largest Enphase microinverter installer in Australia and have been voted the #1 installer based on customer feedback. Our customers love our hassle-free & professional installation with full service and technical support.
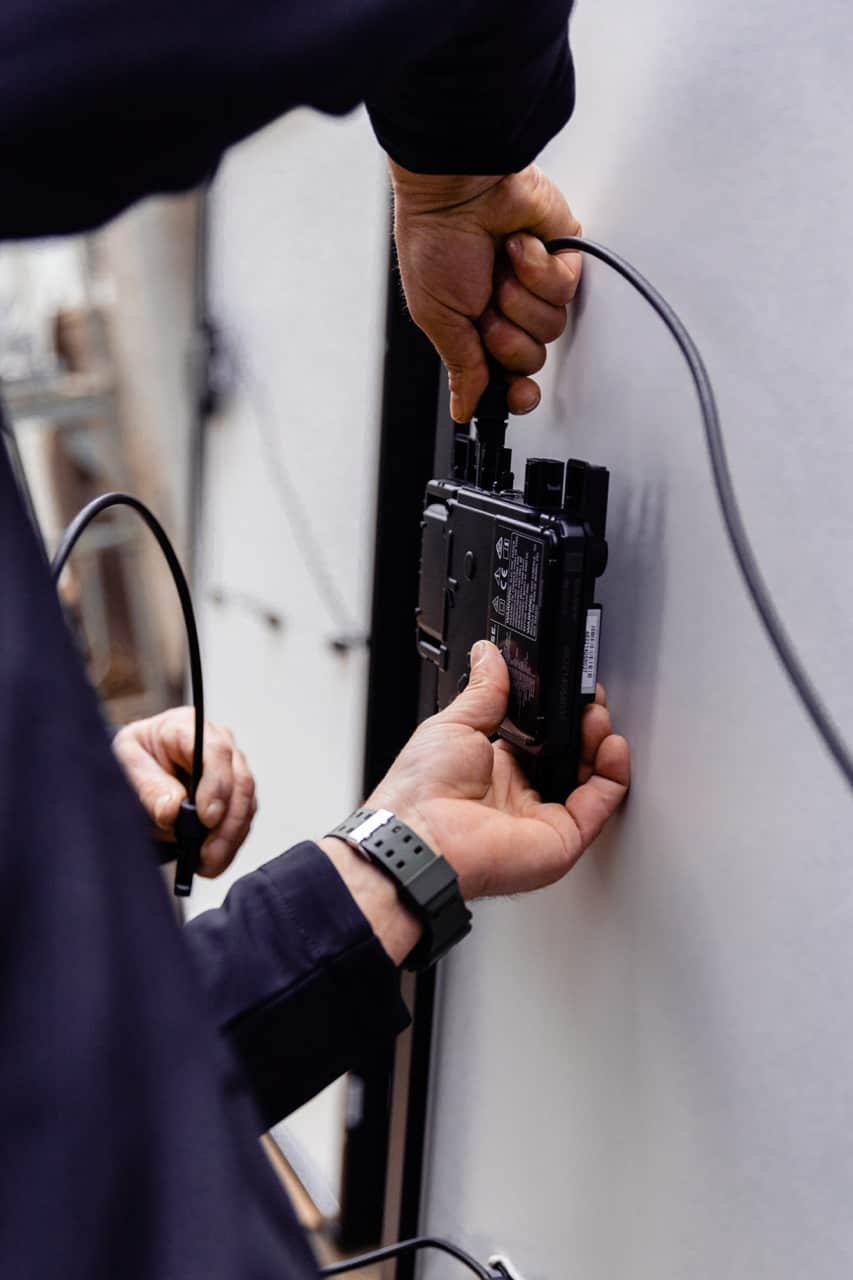
An Enphase microinverter system can further reduce your power bills thanks to the world’s most advanced micro-inverter technology. An Enphase IQ8 microinverter sits underneath each panel, allowing for panel-level output that can significantly increase the output of your system. Enphase micro-inverter systems are smarter, safer, flexible, more reliable and durable.
Benefits of Enphase Microinveters
Advanced Microinverter Technology
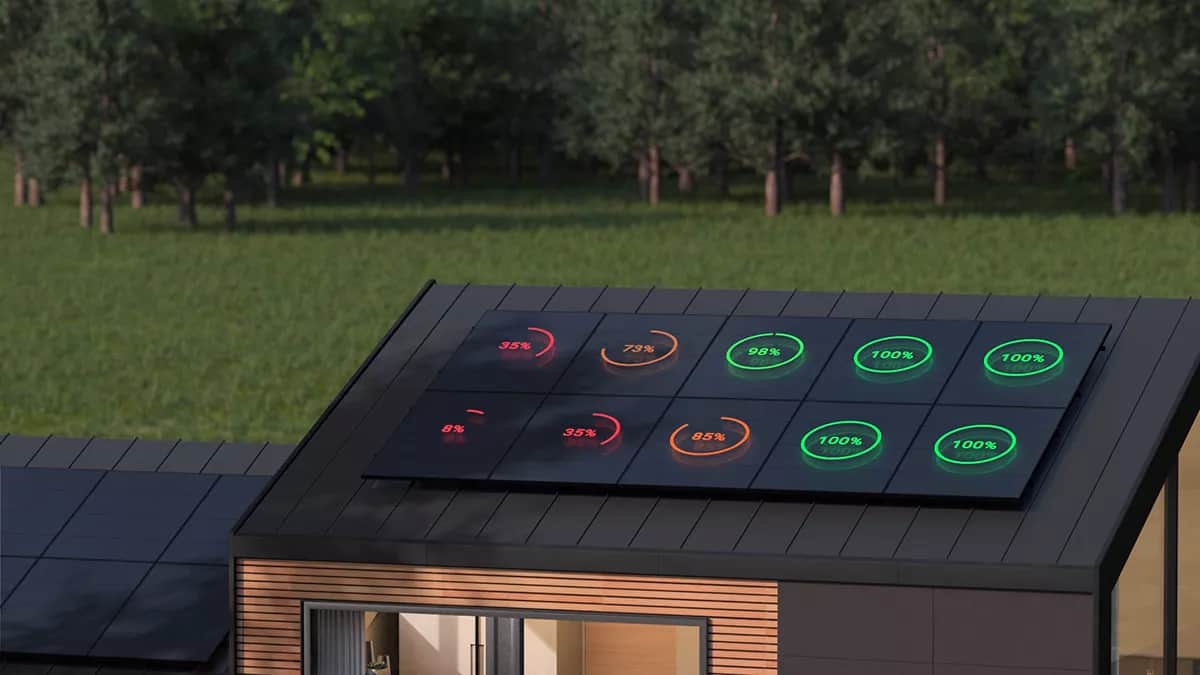
Unlike traditional systems with a single central inverter, Enphase uses a microinverter beneath each panel. These convert DC to AC on the spot, so each panel operates independently.
If one panel is shaded or underperforms, the rest keep working at full capacity, especially important during high-usage times like late afternoon.
According to Renewable Energy World, just 9% shade on a string inverter system can cut output by up to 54%. With Enphase, shade, dirt, or manufacturing differences won’t drag down the whole system.
Microinverters also mean greater reliability. If one panel or microinverter needs service, the rest of the system stays online, minimising downtime during a warranty claim or repair.
With panel-level optimisation, you get more energy, more consistently, over the life of your system—even in less-than-ideal conditions.
Long Warranty For Your Peace of Mind
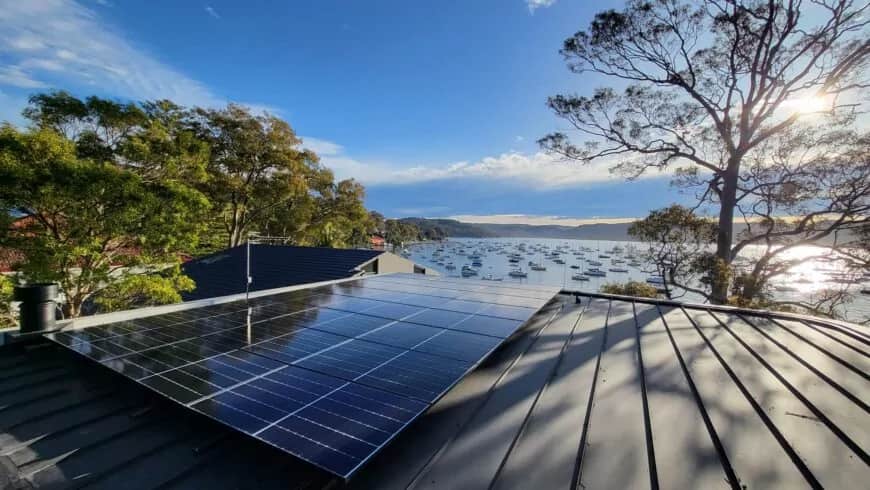
Enphase microinverters come with a 25-year warranty—the longest in the industry.
With 1KOMMA5° and Enphase, both you and our team can monitor your system in real time. If there’s ever a fault, we’re instantly alerted, and in most cases, Enphase can fix it remotely with a quick firmware update—no technician visits, no downtime.
In the past, warranty claims could take weeks. With Enphase, everything’s faster, simpler, and smarter.
Real Time Monitoring
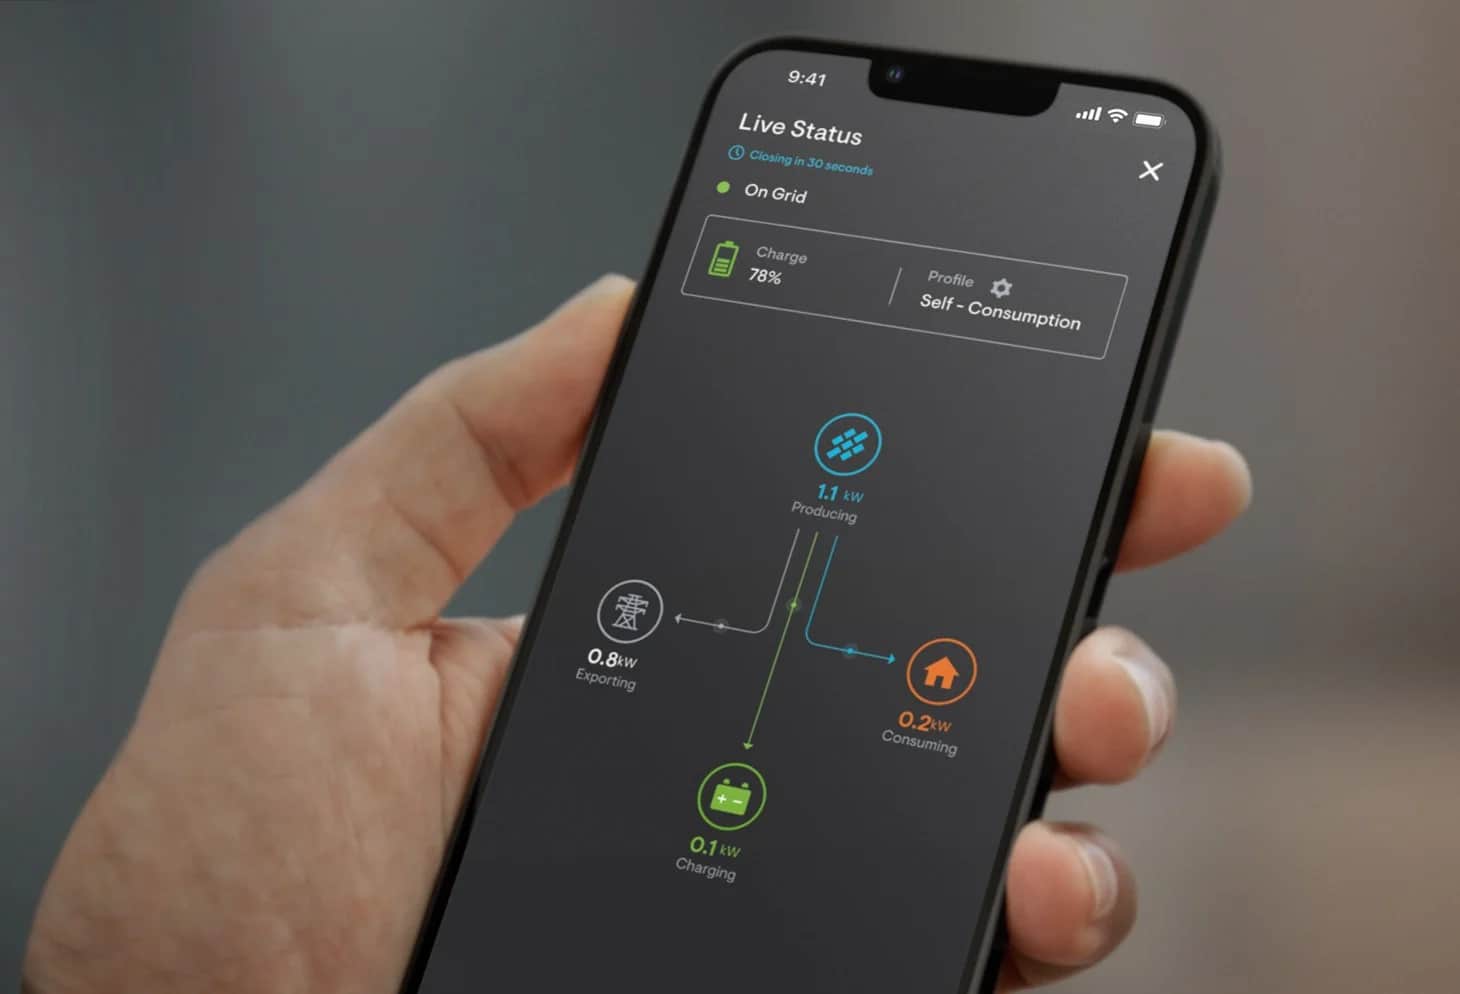
Every Enphase system includes an Envoy Communications Gateway, the brain of the system. This device connects to your home’s Wi-Fi, allowing real-time data on performance and system health to be shared seamlessly.
Through the Enlighten software platform, you can monitor your system via the app or desktop login. Its intuitive, user-friendly interface lets you view both panel-level production and total system output at a glance.
The first few weeks with Enphase are especially fun. You’ll see how your system performs on sunny, cloudy, and even rainy days. Many are surprised to find the system still generates power in wet weather, helping cover your home’s base load.
It’s energy monitoring made simple, smart, and actually enjoyable. No wonder Enlighten is considered one of the best platforms in the industry.

The Safer Solar Choice
Microinverters convert DC power to AC right underneath each panel, so your system only uses low-voltage AC cabling down to the meter board—no high-voltage DC running through your roof cavity.
We’re not fans of DC cabling in roof spaces. If a rodent chews through it, it can pose a serious fire risk.
If string inverter systems were invented today, they’d likely be deemed non-compliant due to this risk. In fact, some countries—like the USA—have already banned them.
Unfortunately, solar fires are becoming more common, especially in cheaper systems flooding the market. One of the biggest culprits? Water getting into a DC isolator, a switch that’s ironically meant to shut the system down during a fire.
With microinverters, you eliminate these risks—making your home safer and your solar system smarter.

Future-Proof Your Home
With an Enphase microinverter system, you’re not locked into today’s technology. You can expand your system anytime without needing to match new panels to your existing ones. That means when higher-wattage panels become the new standard, you’re free to upgrade without replacing your inverter or hunting for discontinued panel models.
Enphase also solves the single-phase vs three-phase challenge. On a single-phase home, you’re normally capped at a 5kW inverter, but with Enphase’s export limiting feature, you can install up to 10kW of solar and still meet grid requirements. If you have three-phase power, there’s no extra cost or need for a bulky three-phase inverter. Enphase distributes power intelligently across all phases with no upgrade needed.
And when you’re ready to add a battery, Enphase gives you options. It integrates seamlessly with the Tesla Powerwall 3 and is blackout-compatible for greater energy security. Or, choose the modular Enphase IQ Battery—start small and scale up as your needs grow. No major reworks. No compatibility issues. Just a system designed to grow with you.
Why Choose 1KOMMA5°:
High-Quality Products
1KOMMA5° works with the best products available to maximise output, reliability and longevity. We also provide customised solutions to suit your needs and budget.

Industry-Leading Install Standards
All 1KOMMA5° installations are done by CEC accredited experts and come with full technical support and warranty service.

Reliable Customer Support
Our support team is local (no call centres) and we have been awarded by the world's leading solar companies as the best installer in Australia, year after year.
